Last Updated: October 25, 2026
Quick Summary
To prepare for junk removal, create a master inventory of all items to remove, organize them by category, decide what to keep or donate, identify restricted items needing special handling, request an estimate from providers, clear pathways in your home, and coordinate logistics with the removal crew before pickup day.
- Create a detailed inventory by walking through each room and noting large items, medium items, and small piles by location.
- Organize items into categories like furniture, appliances, electronics, yard waste, and construction debris to streamline removal.
- Identify restricted items such as hazardous materials, refrigerants, electronics, tires, and ammunition that require special handling or disposal.
- Request an in-person or photo-based estimate and confirm in writing the quoted price, volume tier, accepted items, and any per-item fees.
- Clear pathways, stage items in accessible locations, unlock gates and storage areas, and confirm parking and building access before pickup day.
Table of Contents
- Step 1: Create a Master Inventory of Items to Remove
- Step 2: Build Your Junk Removal Checklist by Category
- Step 3: Decide What to Keep, Donate, Recycle, or Discard
- Step 4: Identify Restricted Items and Special Handling Needs
- Step 5: Request a Junk Removal Estimate and Confirm Accepted Items
- Step 6: Prepare Your Home for Junk Removal Pickup
- Step 7: Prepare for Pickup Day and Coordinate with the Removal Crew
- Frequently Asked Questions
Step 1: Create a Master Inventory of Items to Remove
The first step to prepare for junk removal is knowing exactly what you’re removing. Create a master list of all items that need to go.
A thorough inventory serves two purposes. It helps the removal crew understand the scope of work. It also gives you a clear picture of what’s leaving your space.
Here’s how to build your master list:
- Walk through each room or area systematically
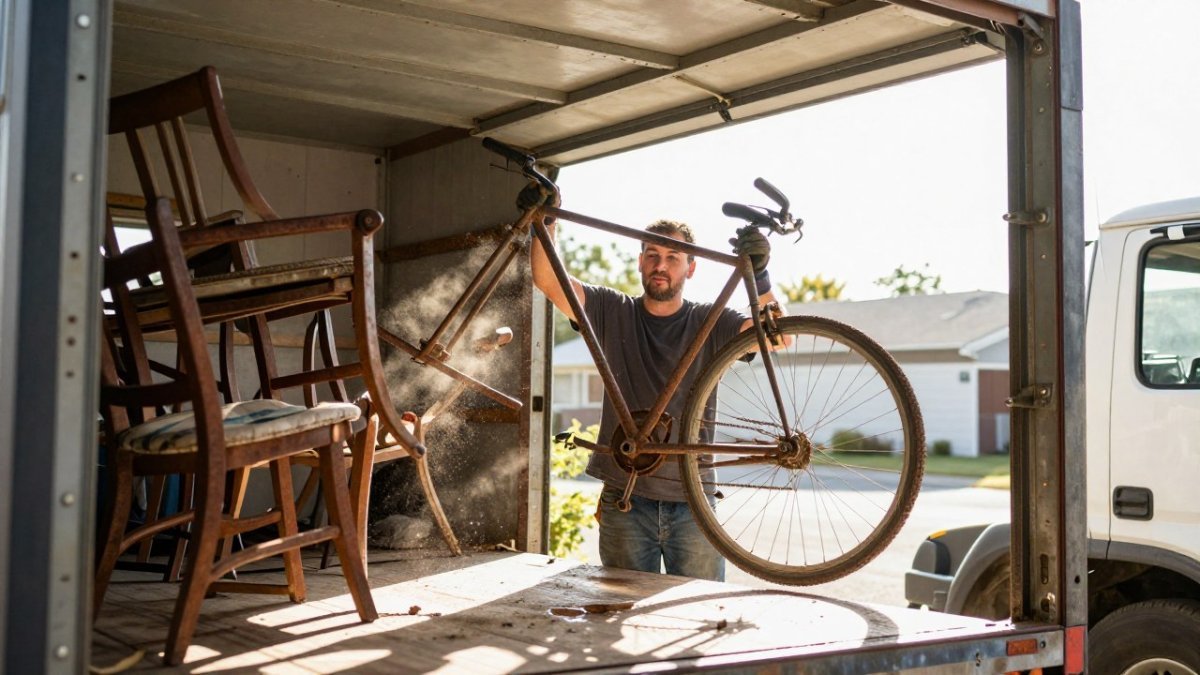
- Note large items first (furniture, appliances, equipment)
- Add medium items (boxes, storage units, shelving)
Take photos of cluttered areas if possible. Photos help the removal crew see what they’re working with before arriving.
When you contact a junk removal service for an estimate, having this inventory ready speeds up the process.
Step 2: Build Your Junk Removal Checklist by Category
Organizing items by category makes the removal process smoother. Group similar items together on your checklist. This helps both you and the removal crew work efficiently.
Common categories for junk removal include:
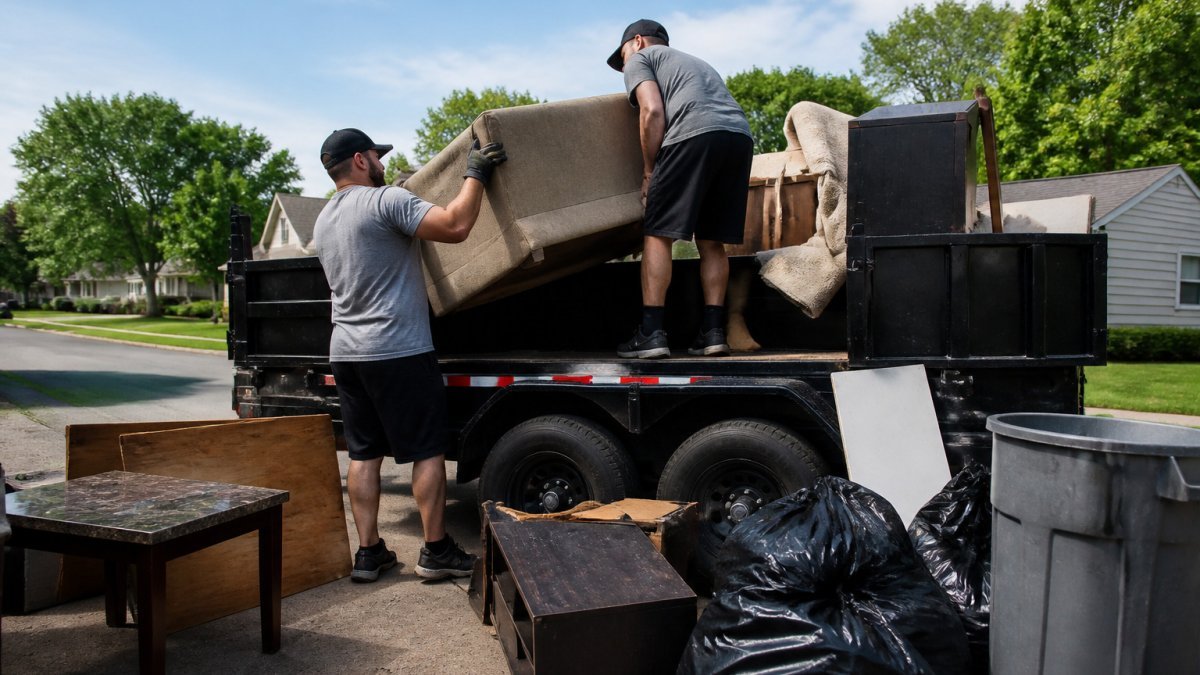
- Furniture: Sofas, chairs, tables, dressers, mattresses
- Appliances: Refrigerators, washers, dryers, microwaves, dishwashers
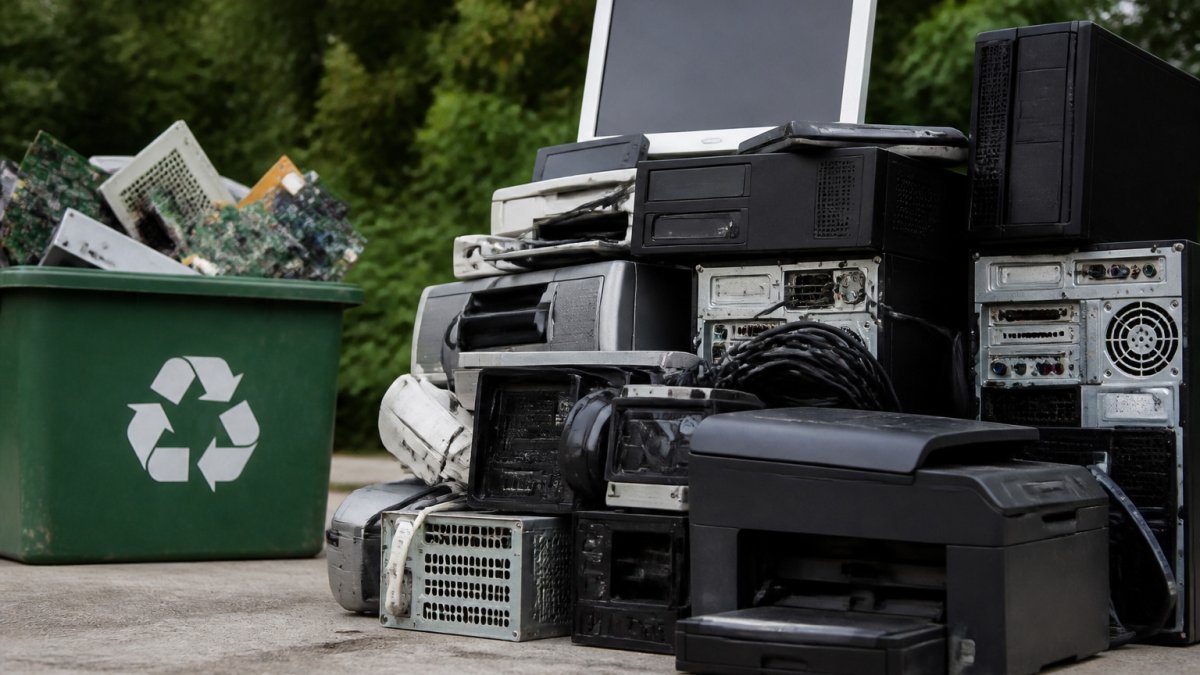
- Electronics: Old TVs, computers, monitors, printers
Creating a checklist by category helps you see what you have and prevents items from being forgotten. It also makes it easier to communicate with the removal crew about what’s being taken.
Check off items as you identify them. This gives you confidence that nothing important is missed.
Step 3: Decide What to Keep, Donate, Recycle, or Discard
Before calling for junk removal, decide the fate of each item.
Ask yourself these questions for each item:
- Do I use this regularly?
- Is it in good condition?
- Could someone else benefit from it?
Items in good condition should be considered for donation.
Recyclables include metals, plastics, glass, and cardboard. Many items people throw away can be recycled.
Broken or damaged items that cannot be repaired go to discard.
Understanding what junk removal services take helps you make informed decisions about each item.
Step 4: Identify Restricted Items and Special Handling Needs
Some items require special handling or cannot be removed by standard junk removal services.
Common restricted items include:
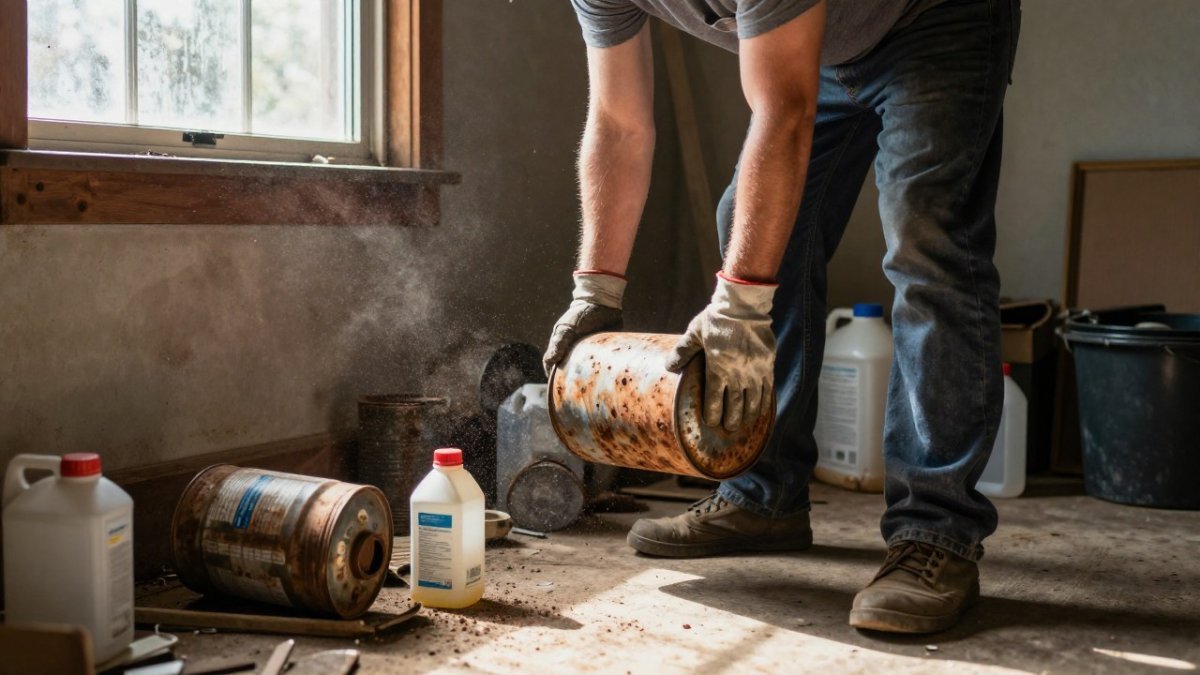
- Hazardous materials: Paint, chemicals, oils, batteries, propane tanks
- Refrigerants: Air conditioners, refrigerators, freezers (contain harmful refrigerants)
- Electronics: Televisions, computers, monitors (contain toxic materials)
Many of these items cannot legally go to standard landfills.
Ask your junk removal provider about their restrictions before scheduling. Different services have different policies.
For items that need special handling, research local disposal options.
Learn how to handle hazardous waste safely to understand proper procedures for items in your space.
Document any restricted items on your checklist.
These items cannot be removed by standard junk removal services and require special handling or disposal.
| Item Type | Why Restricted | Disposal Method |
|---|---|---|
| Hazardous materials | Cannot legally go to standard landfills | Specialized facilities |
| Refrigerants | Contain harmful refrigerants | Specialized facilities |
| Electronics | Contain toxic materials | Specialized facilities |
| Tires | Require separate disposal | Specialized facilities |
| Ammunition and firearms | Never accepted by junk removal services | Not accepted |
| Biohazard materials | Medical waste and contaminated items | Specialized facilities |
Step 5: Request a Junk Removal Estimate and Confirm Accepted Items
Contact junk removal services to request an estimate, but go in knowing how the number gets built. Most companies price by volume, the fraction of the truck your load fills, rather than by item count, so the same sofa costs less in an empty truck than in one already half full. Understanding that mechanism helps you ask better questions and avoid surprises.
What actually drives the estimate
When a provider quotes a job, four variables typically move the number:
- Load size: Pricing is usually tiered by truck volume, common tiers are roughly a quarter, half, three-quarters, and full load. A single mattress and a basement cleanout can land in very different tiers even though both are “one pickup.”
- Item type and weight: Heavy, dense materials (concrete, dirt, tile, appliances) cost more per volume than bulky-light items (cardboard, furniture, yard waste) because disposal fees and truck weight limits differ. Mattresses, tires, and electronics often carry a separate per-item fee because they need special handling.
- Labor and access: Stairs, long carries, elevators, tight doorways, and disassembly add time and crew size. A basement or third-floor walk-up takes longer than a curbside pickup of the same load.
How to run the estimate conversation
An in-person or photo-based estimate is more accurate than a phone guess. When you request one, provide your inventory and checklist, mention any restricted items, and describe access honestly, parking distance, stairs, elevator availability, gate codes, and whether items are inside or already curbside.
Ask these specific questions during the estimate:
- How is the price structured, flat rate, volume tier, or hourly?
- Is the quoted price binding, or can it change on pickup day if the load is larger than described?
- Who approves an on-site price change, and will I be asked before any additional charge is applied?
Ask the provider to confirm in writing (email or text) the quoted price, the volume tier it assumes, and the process for approving any on-site increase. A written confirmation protects both sides if the load turns out bigger than expected.
Confirm accepted items and disposal outcomes
During the estimate, confirm exactly what the service will and will not take. Ask how each material stream is handled after collection, what gets donated, what gets recycled, and what goes to a landfill or transfer station.
Get a free on-site estimate to confirm pricing structure, accepted items, and disposal outcomes before you book.
Take notes during the estimate: the quote, the volume tier assumed, appointment date, what’s included, any per-item fees, and special instructions.
Step 6: Prepare Your Home for Junk Removal Pickup
The removal crew needs clear routes to move items out efficiently. Remove obstacles from:
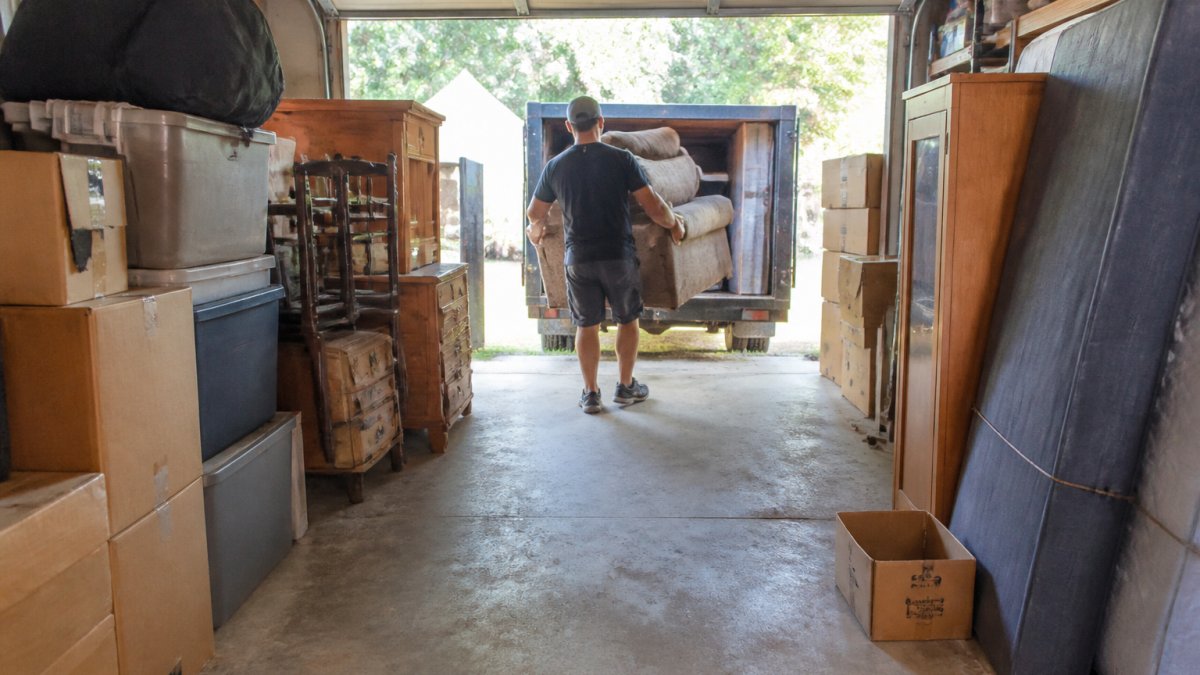
- Hallways and doorways
- Stairs and landings
- Garage and basement entrances
Move smaller items away from large pieces. Group items together in designated areas when possible.
Protect your floors and walls if items will be moved through finished living spaces.
Check weather conditions before pickup day. If rain is forecast, ensure outdoor items are accessible.
Secure pets and children in a safe area away from the work zone.
Prepare a list of any last-minute questions for the crew.
Step 7: Prepare for Pickup Day and Coordinate with the Removal Crew
Pickup day runs more smoothly when you know the sequence and have the logistics settled before the truck arrives. Plan for someone to be on-site for the full appointment window, and treat the timeline below as a rough guide, actual times vary with load size and access.
A typical pickup-day timeline
- Before arrival (day prior and morning of): Confirm the appointment window, clear the path, stage items in one accessible location where practical, and make sure gates, garage doors, and storage units are unlocked. Move vehicles out of the driveway or loading zone.
- Arrival and walkthrough (first 10-15 minutes): The crew arrives, you walk the space together, and you confirm what is being removed and what stays. Point out restricted items, fragile pieces, and anything that needs disassembly. This is the moment to flag a load that looks bigger than the estimate assumed.
- On-site price confirmation (if needed): If the actual volume or access differs from what was quoted, a reputable provider pauses to confirm any price change with you before work begins. Get that approval in writing if you can.
For a small curbside load, the whole visit may take well under an hour. A multi-room or multi-floor cleanout can run several hours. Ask the provider for a realistic window when you book.
Access, parking, and building logistics
Access problems are the most common cause of pickup-day delays. Settle these before the crew arrives:
- Parking: Confirm where the truck can legally park. A full-size junk truck needs clearance and may not fit in a residential driveway or a tight alley. If you live in an apartment or condo, ask building management about a loading zone, dock, or reserved space.
- Permits and HOA rules: Some buildings and homeowners associations require advance notice or a temporary parking permit for a commercial vehicle. Check before pickup day.
- Elevators and stairs: If the building has a freight elevator, reserve it. If not, tell the provider how many flights of stairs are involved, this affects crew size and time.
- Gates, codes, and keys: Provide gate codes, lockbox combinations, or keys in advance, and make sure someone can open any locked storage area.
If the crew cannot access the items, locked gate, blocked driveway, no parking, the job may be rescheduled and a trip fee may apply. Confirm access details when you book, not on the morning of pickup.
Safety and personal-item checks
Before the crew arrives, do a final sweep for anything that should not be hauled:
- Check drawers, pockets, cabinets, and storage bins for valuables, cash, documents, medications, and keys.
- Look inside appliances, refrigerators, freezers, washers, and dryers, for items left behind.
- Confirm firearms, ammunition, and hazardous materials are removed and handled separately.
- Keep pets and children in a safe area away from the work zone for the entire visit.
After the crew leaves
Inspect the space and confirm everything on your list is gone. Check for damage to walls, floors, or doorways and photograph anything you need to document. Keep the receipt or confirmation, it records what was removed and when, which is useful for insurance, property management, or warranty purposes.
Schedule your free on-site estimate to book your appointment and confirm access, parking, and timing details before pickup day.
Frequently Asked Questions
How should I prepare for a junk removal service before the crew arrives?
Start by creating an inventory of all items you want removed and sorting them into categories. Clear access routes to your garage, basement, or attic so the removal crew can move freely. Separate any hazardous materials like paint cans or electronics from regular items, and confirm with your junk removal service which items they accept. Group similar items together in one accessible location when possible, and ensure the crew can reach your front entrance or driveway without obstruction.
What should I include in my junk removal checklist?
Your junk removal checklist should organize items by category: furniture, appliances, electronics, boxes, yard waste, and construction debris. Note the quantity and condition of each item. Include special handling items like hazardous materials separately. Cross-reference your checklist against your service provider’s accepted items list before pickup day. This helps the removal crew prepare for the job and ensures you don’t accidentally set out items they cannot take.
Do I need to sort items before the junk removal service arrives?
Sorting items before pickup makes the process faster and more efficient. Group furniture together, stack boxes neatly, and separate electronics and appliances from general clutter. This helps the removal crew load the truck more quickly and reduces the time they spend on your property. If you want items donated or recycled rather than sent to the landfill, sorting makes it easier for the crew to handle those materials responsibly and divert them to the right facilities.
How do I get an accurate junk removal estimate?
Request a free on-site estimate so the service provider can assess the volume and type of items you need removed. Have your inventory ready and point out all areas where junk is located. Be honest about hazardous materials, large appliances, or items requiring special handling. Ask the estimator which items they accept and whether they offer recycling or donation options. Transparent communication during the estimate ensures the final price matches your expectations and the removal crew arrives fully prepared.